Yay for my first guest post! Here is a lovely DIY project for Ramadan and Eid, created by a friend of mine, Sabrina. I keep seeing her beautiful creations on Facebook, and since she doesn’t have a blog of her own, I thought that this would be a great way for her to share her awesome ideas for this holy month with everyone. Enjoy!
Hi all! My name is Sabrina, and I’m an avid DIYer, a wife, and mother of 3.
I’ve always been into art since I was a child, taking as many art classes in school as I could. I’ve done basic drawing classes, painting classes, sculpture, graphic design and pottery. So I guess that explains why I never stick to one medium when it comes to what I create!
I’m always looking at things, and trying to figure out how I can make it match my style or how I can improve on it. Plus with 3 kids, ages 11, 7, and 4, I really need an outlet to help me from going insane. Don’t get me wrong, I love my kids, I just need some time alone as well! So since I’m always trying new things, I thought I’d share one of the projects that I made this month. A flip Ramadan and Eid Mubarak sign!
How To Make A Personalized Ramadan & Eid Mubarak Sign
Step 1: Gather Supplies & Purchase Extras
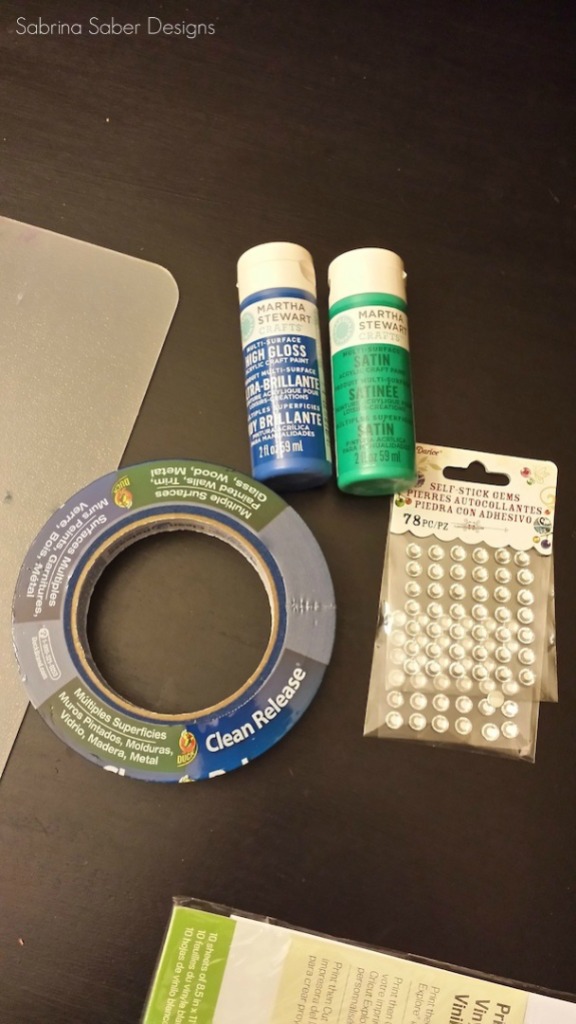
I love going to Michaels to look at all of the different things that they have, and trying to figure out how I can use one of their products for a new idea. This year, I wanted to make a Ramadan Mubarak & Eid Mubarak sign that I could match to the style and colors of my home. I absolutely love the pre-cut wood designs in Michaels, so I was really happy to be able to finally use them in a design idea for holiday décor! I ended up purchasing…
- A Pre-cut wooden laser frame (similar to this one)
- Craft paint colors by Martha Stewart
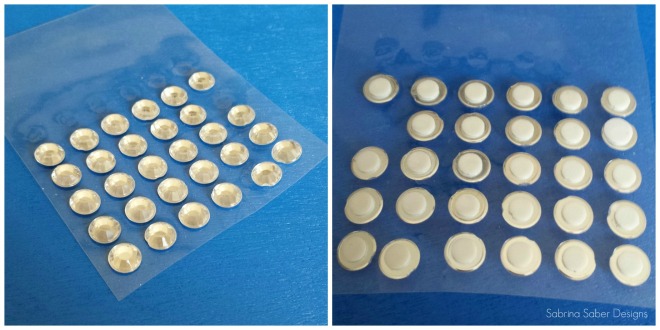
- Bling stickers
Other items that you need, but that I already had at home…
- Clear plastic mat – a computer table mat that I purchased from IKEA and is used to protect my table from paint or other messes. (FYI – Currently available in IKEA stores in Dhahran!)
- Painters tape – perfect for creating straight lines
- Paint brushes
- Cricut machine (electronic cutting machine) OR an x-acto knife OR 2.5 inch wide lettered stickers (similar to these)
- Printable vinyl paper, if using a Cricut or x-acto knife
- Bowl (for water)
- Paper towels (for clean-up)
FYI – For you readers living in Dhahran, most of these materials should be available at Al Zamil Stores or Jarir Bookstores. Click on the links to find out where they’re located, and to get information on what they carry!
Step 2: Get Painting!
Heres the fun part – set your area up and start painting! I used Martha Stewart paint because I loved the colors and also because it glides on very smoothly. A small bottle is actually enough for your project, in fact, you’ll probably have quite a bit left over.
I did about 2 coats of blue and 2 coats of green on the opposite side of my pre-cut wooden laser frame. You will have to wait between coats, but not too long.
Step 3: A Little Bit Of Bling
Next, is to add bling with my self-stick gems! Personally, I like the extra touch that it brings to the whole sign, but you are more than welcome to try other things. I used pearl stickers for a mirror in my 4 year old daughter’s room (similar to these), which looks really pretty as well. It all depends on your color scheme and style.
I used a packet of 72 self-stick gems, which was enough for both sides of the sign. Be careful when you place it as it won’t come off without ruining the sticky part of the sticker.
Step 4: Lettering
This is probably the trickiest part of this project… I use a cutting machine called a Cricut so that I don’t have to use an x-acto knife to cut out shapes, letters or my own designs, but feel free to use an x-acto knife if you don’t have a machine to do this (it just takes a while and can be difficult for first-timers). I just didn’t find lettering that I liked at the store, so it was easier for me to just buy the vinyl, pick a style I liked, and then cut out the letters the way that I wanted.
Or you can also try to find your favorite style of letters in stickers and use those instead. My letters were about 2.5 inches wide.
FYI – If you’re interested in purchasing a machine, you can check out the newer version of what I have – the Silhouette Cameo from Amazon.
I then used the painters tape to create a straight line for me to put the lettering on. Try to lay them on the board first to see how you want to place them before you take the backing off and adhere them. You really don’t want to have to peel them off later!
And… that’s it – you’re done!
You now have a cute sign for Ramadan that you can flip over when it’s time for Eid 🙂
I hope you all enjoy creating this project as much as I did! – Sabrina


 My 2018 IKEA Faves
 My 2021 IKEA Favorites
 30 Beautiful Ramadan Décor Items for Your Home

[…] DIY Guest Post: How to Create A Ramadan & Eid Mubarak Sign! […]