I’ve been dying to incorporate something blush pink into my home for a couple of months now – it’s kind of my color of the season 🙂 I thought about painting our guest room pink, but hubs wasn’t really on board with that idea… So, when I found out that Annie Sloan carries a beautiful soft pink chalk paint – Antoinette – I decided to paint some furniture instead!
As you may remember, I’m not usually too thrilled about trying out a DIY project especially one that requires a lot of prep work, time, and/or material. However, I had heard from my friends that Annie Sloan chalk paint is not only incredibly easy to use, but that you don’t really need to know much about painting furniture to use it. I also really like matte or non-glossy finishes these days, so since chalk paint has a chalky texture, it was a great option for me.
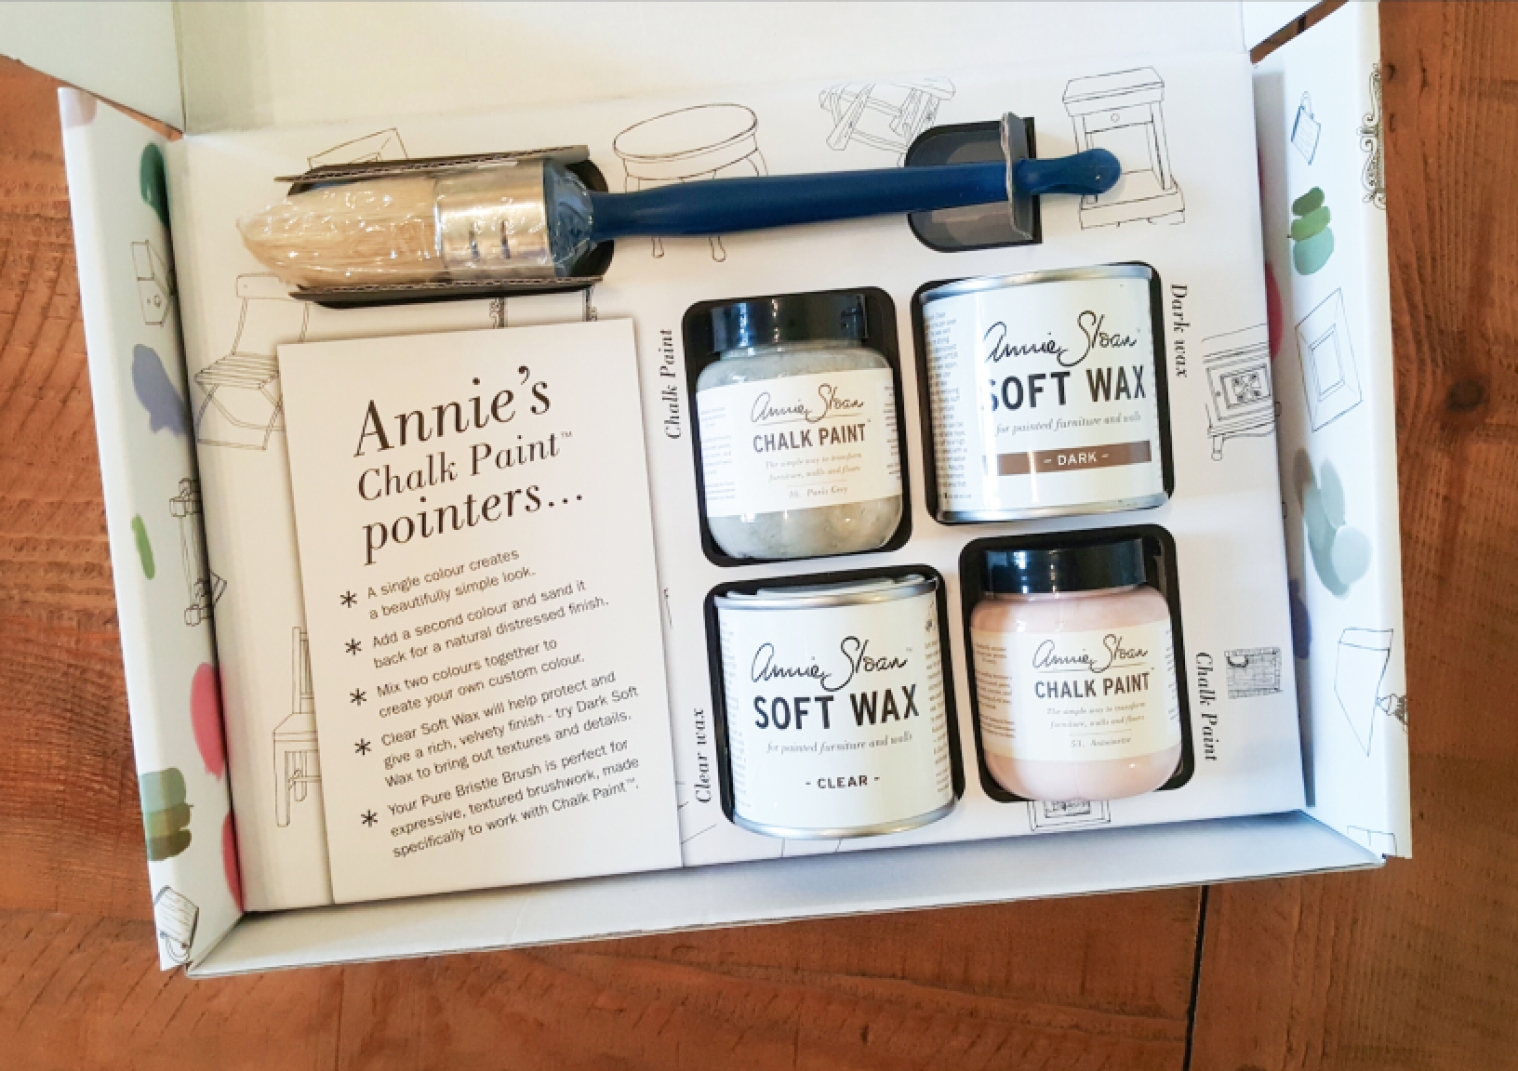
An amazing Annie Sloan stockist based in Riyadh, Candles & Chalk, was kind enough to send a sample kit to my home in Dhahran so that I could try out this crazy project.
The kit is aaaaamazing, and comes with two 100 ml. jars of chalk paint (you can choose the colors), two tins of wax (clear & dark) as well as a brush!
My test subject for this project was an IKEA Hemnes nightstand that I had sorta ruined a few months ago when I got lazy and let some water seep into the surface.
So after watching a couple of YouTube videos, I jumped straight in.
I was a little stingy with my first coat of paint since I wasn’t really sure how much I was going to need, but I was very surprised at how little paint I used for that first layer. While the Hemnes nightstand has a glossy finish on it, the paint seemed to grip onto the surface quite well.
After the first coat dried, I then added another layer of paint. The tutorials that I had watched said to paint a little haphazardly, which is probably done to reduce the amount of brush strokes. I’ll be honest though, I didn’t mind the brush strokes at all. I actually feel like the variation in the matte texture makes my piece look more like wood now than it did before!
I went over the surface for the last time (after it dried) with one more layer of paint since I had some left.
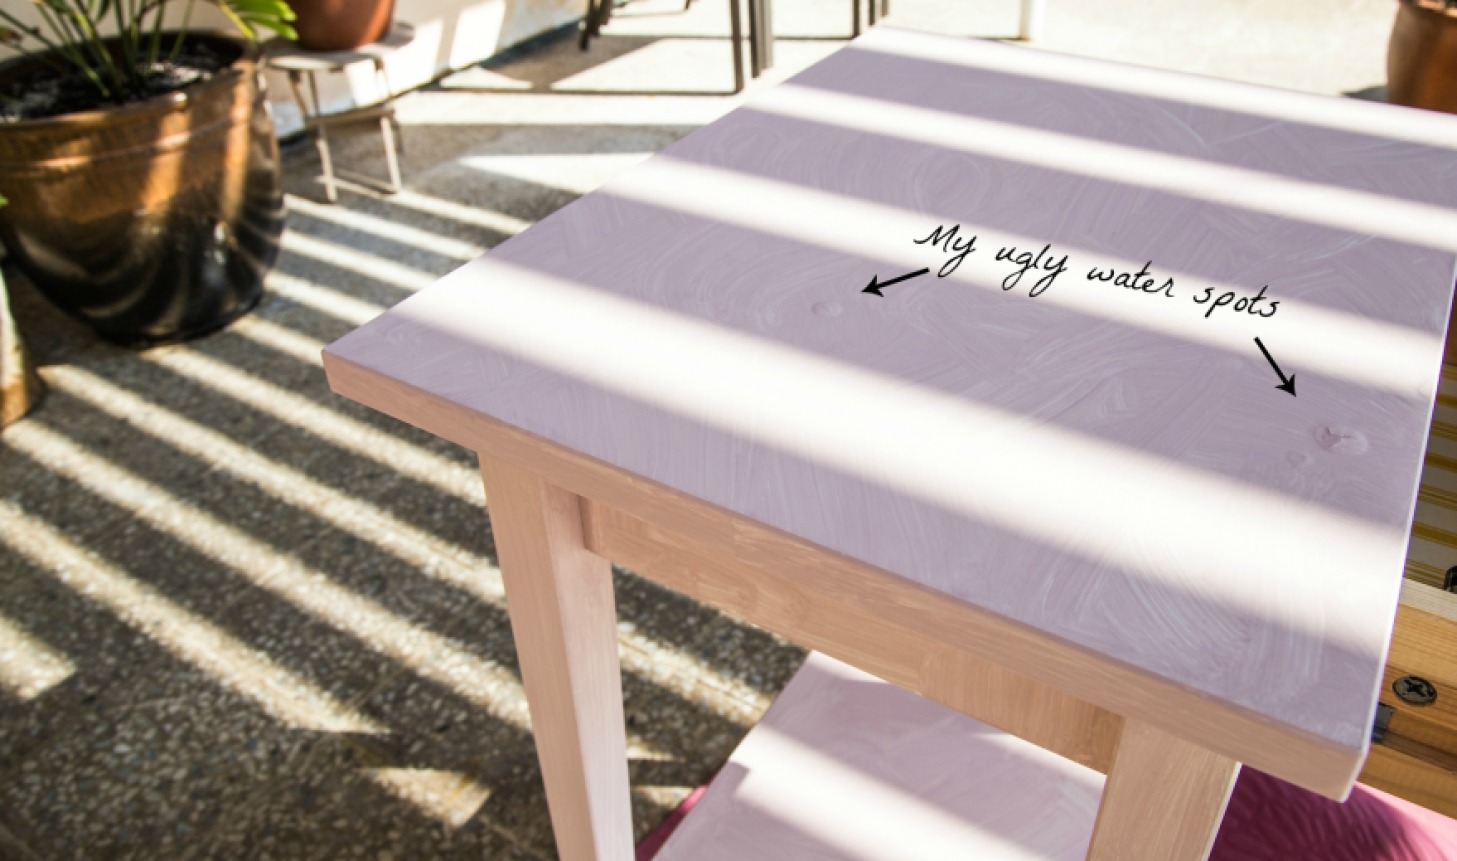
Before waxing, I sanded the nightstand very lightly to make sure that I got rid of any lumps and bumps, and then used a damp cloth to clean off the residue. Unfortunately, I wasn’t able to get rid of my old water spots, but they look better than they did before!
Using a brush, I worked in small sections to apply the clear wax, and then took an old microfiber cloth to wipe off the excess wax. Apparently, you’re looking to work the wax into your furniture rather than trying to layer on a coat of wax.
This process was actually quite interesting to see. Initially, the wax looks like it’s making the color darker, but that doesn’t last for long. It goes back to a lighter color once it dries. While I didn’t mind the feel of the chalky texture, adding the clear wax gave the piece a much more solid feel while maintaining a matte look. I was quite happy with the effect.
Since I wasn’t really interested in an antique finish, I didn’t experiment with the dark wax. I’m hoping to try that out on something else.
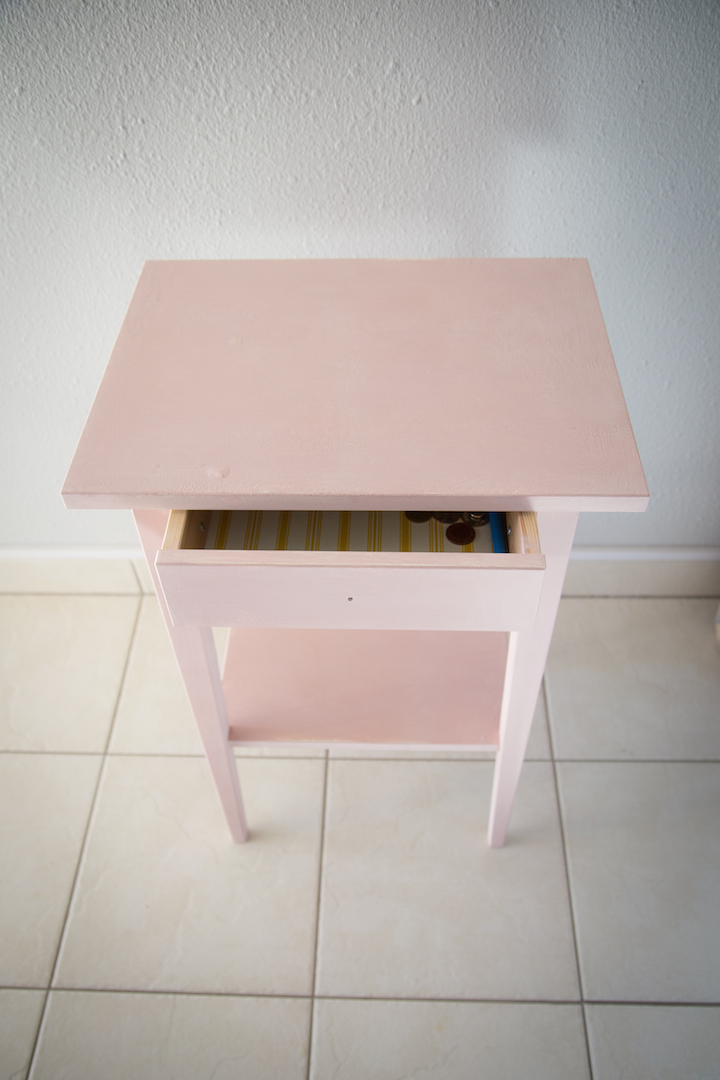
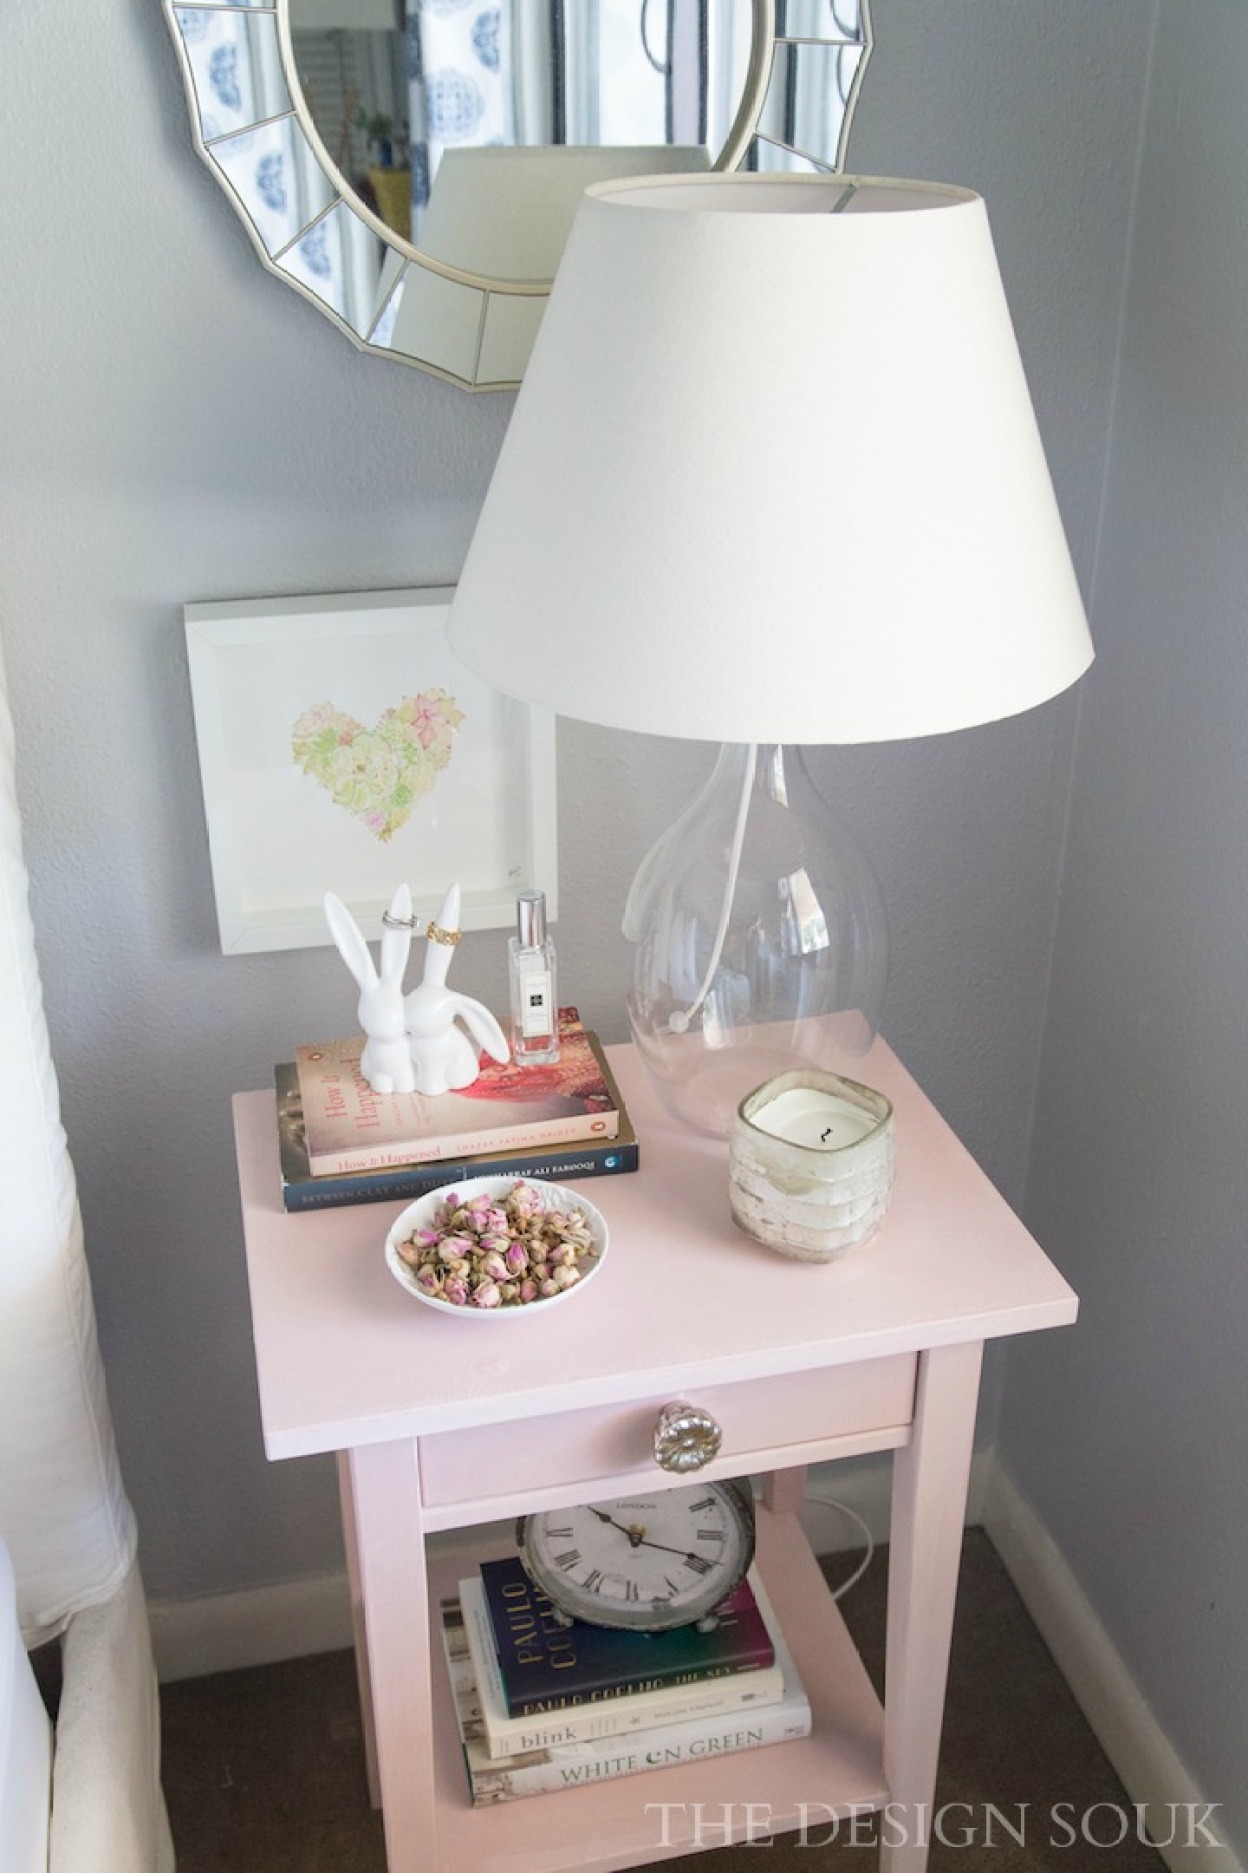
And voila! Here’s the finished product with a brand new knob and in my guest room…
While I was initially nervous about using chalk paint, it was definitely just as easy to use as people had made it out to be. It didn’t seem like you were limited to certain techniques for using your brush, the wax was easy to apply, and everything seemed pretty fixable.
Since I’m not the best at DIY, I do think that my piece looks totally like I painted it, but I don’t mind it at all. I actually kinda love the look of it 🙂
Overall, I was super impressed with this product. The coverage was insanely good – I really couldn’t believe that the little 100 ml. jar of paint managed to cover the entire nightstand. The color looks beautiful as well, and my piece looks really unique!
Tips & Tricks:
- I have recently learned that painting and waxing with the same brush is not the best idea, so try to keep them separate.
- For a smoother finish, you’ll need the flat brush (I’m ordering that next!).
- 1 of the 100 ml. jars was just enough for a nightstand of this size, so make sure you order enough.
- If you want a smoother finish, try not to paint over a spot that is sorta wet already. By doing that, it adds texture to your piece.
- Dark wax needs to be used after applying clear wax. I tested it out to see what it was like, and if you don’t apply the clear wax, it makes your piece look a little muddy.
If you’re interested in trying out Annie Sloan chalk paint on a small project, I highly recommend starting off with this sample kit from Candles & Chalk. It gives you all of the basic tools, but you may want to add another brush to apply your wax.
I’m planning on using my gray paint on another piece, so stay tuned in upcoming weeks for that post…
Contact Information:
Based in Riyadh, Candles & Chalk is presently the sole stockist of Annie Sloan chalk paint. They carry a range of decorative paints (in an array of colors), brushes, and books that help make decorating, repurposing and upcycling furniture much easier – no sanding required!
If you live in Riyadh, and are interested in learning more about how to use this unique and environmentally safe product, you can sign up for a class or workshop as well!









 Exterior Door Makeover!
 Marie Kondo and How You Can Store Your “Stuff”
 30 Beautiful Ramadan Décor Items for Your Home

Yvonne Roth says
I just adore Annie Sloan paint, worth every riyal! I have ordered from C&C also. I’m am currently painting my antique dresser with violet. The nightstand is lovely, great job!
Naveen says
Ohhh I’d love to see the violet in action, Yvonne! I loved trying out this paint, and now I’m trying to find other things to Chalk Paint in my house 🙂
Denise says
Naveen
I’m here in England and have just found your site. You have such lovely taste – fresh, warm and uplifting, while still so serene.
I think you made the nightstand look amazing,and that paint colour is gorgeous- a true country pink, no bubblegum tones in sight!
Not sure if it would help with the Annie Sloan paint (haven’t used AS myself) but for other furniture jobs, Zinsser do extremely good primers for all sorts of surfaces.
I wondered what your view is of the effect of the stronger, brighter light in Riyadh on the look of the paint, though? I have found some pinks end up looking a bit icy in English light.
I look forward to burrowing around on your site, to enjoy your style.
Best wishes
Denise
Naveen says
Hi Denise! Thanks so much 🙂 I love this pink since it looks more like a blush pink than anything else. It also looks great in the light! That makes sense about the pink looking icy in the UK since the sky is clearer and looks bluer there hence a cooler light in the room. I’m so glad you’re enjoying the site and thanks for getting in touch!!