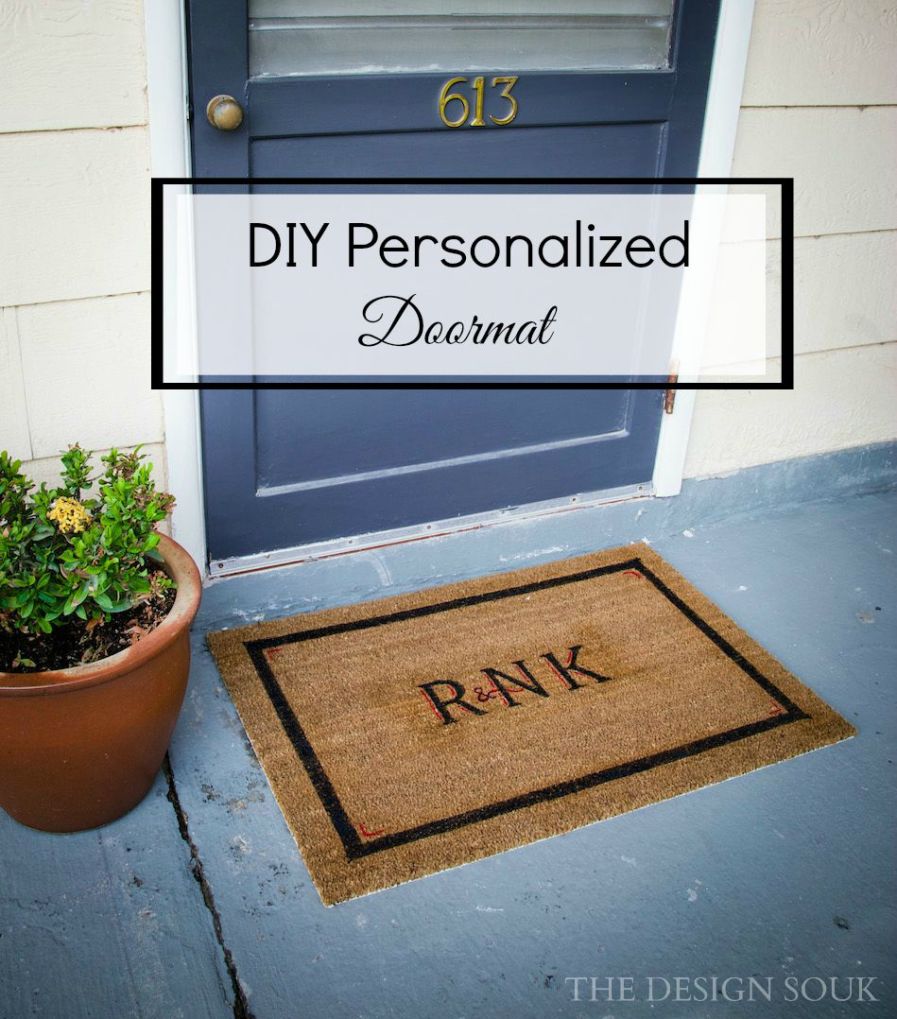
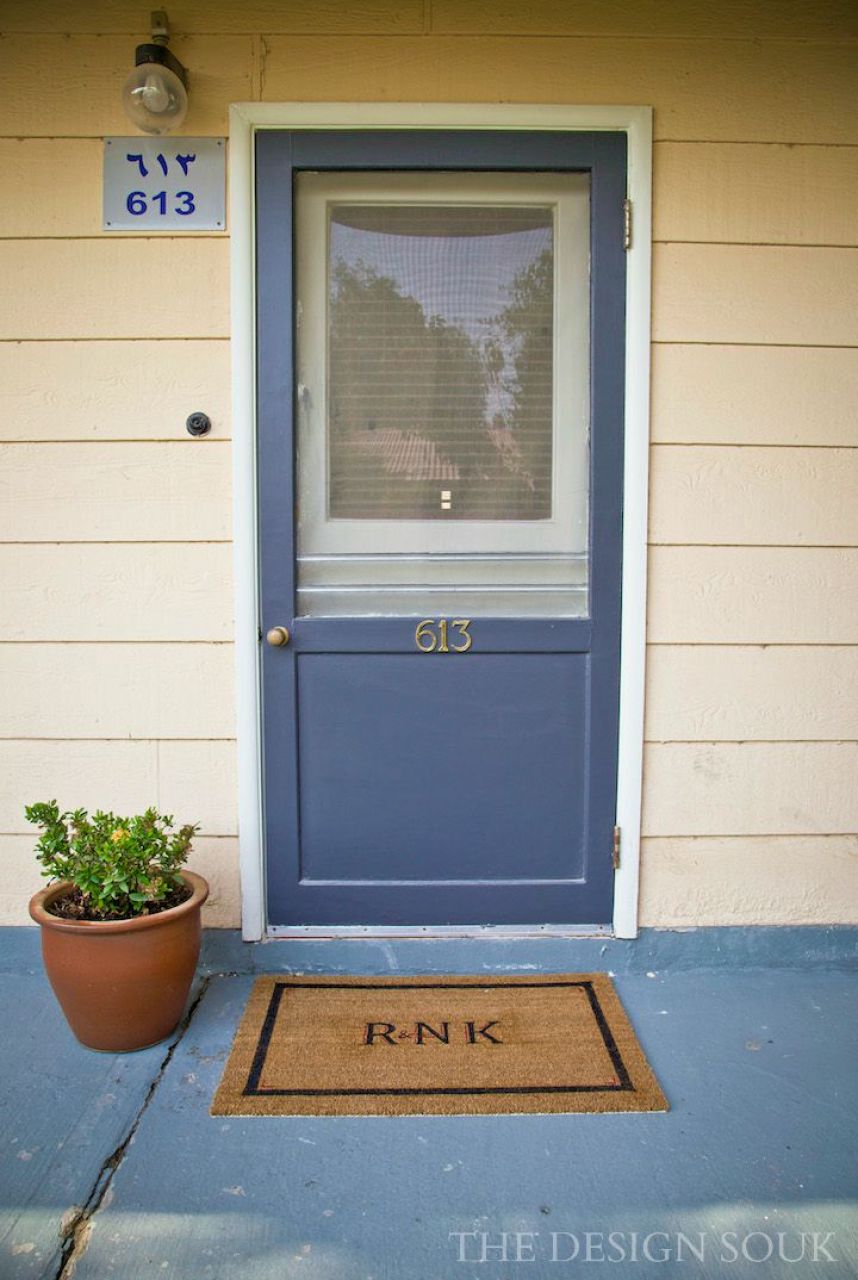
Last week, I showed all of you my very awesome exterior door transformation, and as some of you may have noticed, I added a personalized doormat to my front door as well. It was actually my very first DIY project… and it went really well!
I bought everything for this project from Dhahran, so this should be pretty easy to try out and takes very little time – less than an hour of prep and painting, and then I waited overnight for everything else to set.
So if you’re in Dhahran for the summer, need a front door upgrade, and are pretty bored, you should try it out. It’s incredibly satisfying and you can experiment with your creativity!
Materials Needed:
Since this was the first time I had really tried a DIY project, I had to purchase a lot of extras, which I won’t need to buy next time…
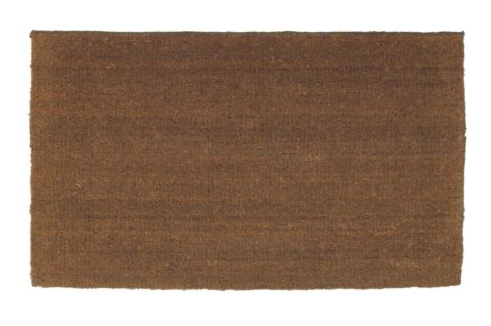
- Doormat from IKEA (SR 49)
- Masking Tape/Painters Tape
- Permanent Market (or pins/tacks)
- Tape Measure/Ruler
- Large letters, approximately 4 inches for this particular doormat. Since I just printed out large letters in Word, I also needed an:
- X-acto Knife (SR 10)
- Cutting board (SR 34)
- Small bottle of Acrylic Paint in the color or colors of your choice from Jarir Bookstores (SR 7 small for SR 18 large)
- Foam sponge tops or paintbrushes from Jarir Bookstores (SR 24)
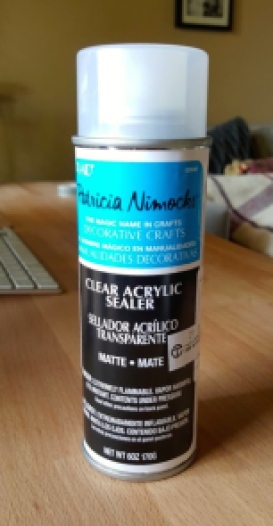
- Clear Acrylic Sealer from Jarir Bookstores (SR 21)
Step 1: Cut out your letters, if you need to…
Since I don’t have any fancy lettered stencils, I printed out large letters in Word, Font Size 435 in Cambria, on normal printer paper. I then used an x-acto knife and carefully cut out the letters on a cutting board. It doesn’t actually take a very long time, but it would’ve been a lot easier if I had a pre-made stencil or had my hands on an electronic cutter of some sort.
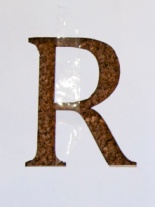
I’ll show you how I “fixed” this problem later!
Step 2: Measure and tape down your border
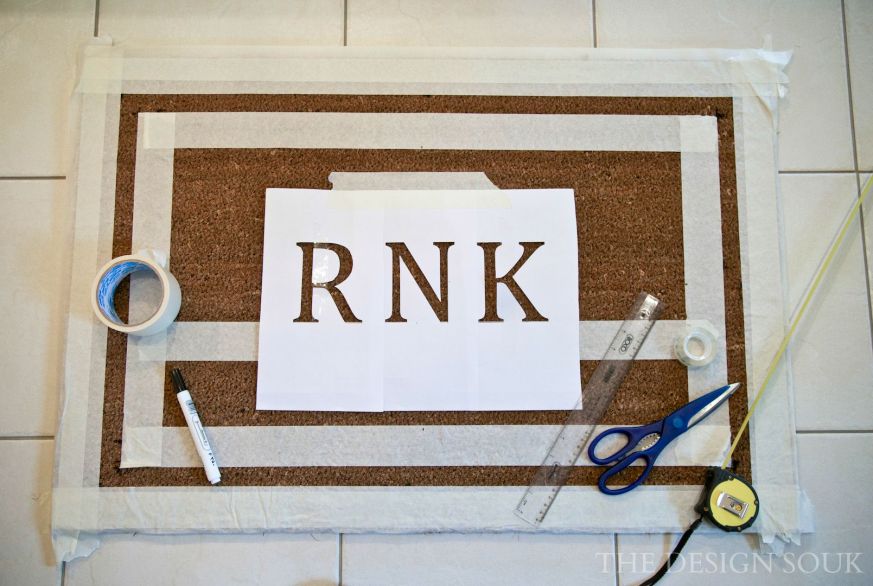
After prepping my letters, I then used a tape measure to mark off my doormat, and create a 1-inch inside border. I used a permanent marker to mark it out, but I actually think using pins or tacks would have been better, so use those if you don’t trust yourself with a marker.
As you can see from the graphic below, I created a 2-inch border from the edge of the mat using tape. I then used that as a guide to create my 1-inch painted border.
Also remember, if using a marker, make your marks on the part of the mat that you’ll be painting. Otherwise, your line won’t look straight when you’ve painted it because the marks will be outside of the painted area. This is why using a tack or a pin might be easier, so you can avoid this problem.
Step 3: Tape your letters down
After finishing the border, I taped my letters together, and then down on the mat where I wanted them. If you want to keep your letters in the center, make sure you measure it all out so that it’s even! Since I wanted the letters to be in a perfect straight line, I also put down another piece of tape as a guide.
You can either trace out the letters at this point with a marker, or you can use the paper as a stencil for your paint.
Step 4: Fill in the borders and letters with acrylic paint
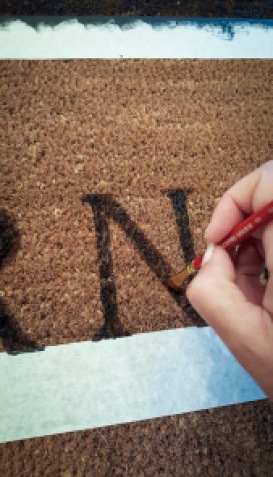
The foam sponge tops actually screw on to the top of the acrylic paint bottle, so I used that tool to fill in my border and the letters with black acrylic paint. However, when painting, traditional brush strokes won’t work, so dab the paint where you want it. This will work with a larger paint brush as well, so don’t worry if you don’t have a foam sponge top.
Actually, now that I look back on it… I think I would’ve preferred using a larger paint brush!
As you can see, it doesn’t look like there’s a lot of paint on the borders, but because of the stark contrast between the color of the mat and the black, it’ll look totally fine when the tape comes off.
So remember that “R” problem? I actually painted the letter with the tape on it first. After painting the “R” with the sponge paint, I removed the paper stencil completely, and then free-handed the rest with a small paintbrush. It’s not as hard as it sounds. I also went back and darkened any spots that I didn’t like.
Lastly, I used some of the black and some red paint just to add some random creative details 🙂
Step 5: Remove the tape and seal your paint
After carefully removing the tape, which I did within minutes of painting, I sprayed the painted areas with an acrylic sealer. This step isn’t necessary if you used an outdoor paint, but because I used acrylics, and this is going outside, it needed to be waterproof! I used a couple of coats on the mat.
FYI – I’m actually not entirely sure if this is really the right product to use, but it’s working so far 🙂
Let it dry overnight for at least 12-24 hours…
And you’re done!
While this was a design that I wanted to try, you can use any design you want, and just apply the same techniques. I’m not terribly adventurous with color, so feel free to try something more vibrant and be creative with your designs!
I think I’m going to try to paint a tri-colored zigzag doormat for the other side now…






 DIY Guest Post: Create A Ramadan & Eid Mubarak Sign!
 How I Designed My Pantry
 Norah’s Home: Entryway, Living + Dining Room

manalshakir1 says
Love it!
Shahida says
Awesome idea Naveen! Love your site, your ideas and your enthusiasm! Keep it up! – Shahida Aunty ( Arastu)